Tuesday, June 21, 2011

He's Coming Home! He's Coming Home!

Ok, I only have a few days before the hubster comes home. I'm super excited that he coming home but that means I only have a few days to complete a couple projects and get the house completely cleaned up from all these projects. UGH! I guess I have added a couple too many projects in between the projects I had on my orginal list. Two more were added this past weekend. I found a French Provincial style upholstered seat and a solid wood night stand for a grand total of $10 at a yard sale.


So, aside from those & the black & white lamp, here are the other projects that have been added:

Etched Glass Magnets - I made 4 different designs but this gives an idea of what they look like...I found these tiles in a 4 pack for $2.48 at Lowe's.


Beverage Bucket Ottoman- My BIL & his girlfriend gave us this Steeler's beverage bucket for Christmas one year and it's been sitting in our back room collecting the papers that need to be shredded. I saw this on Killer B Design's blog and the lightbulb went on!


Painted Mason Jars & Jewelry Tray -I can't remember where I saw these at but I'm sure it was someone's blog...so sorry if it was yours!

Bird Cage-I found this ornamental bird cage at a yard sale for a whole $.10! Painted it with leftover black hammered metal spray paint. I will eventually get silk flowers or a real plant for inside. Please excuse the floral wallpaper border...it also wishes to retire but the landlords won't let it rest!
I think that is all of the miscellaneous projects that are completed.

Tuesday, June 14, 2011

Black, White and Glazed All Over

Remember the beautiful wood lamp and frilly white lamp shade....you probably won't recognize them now.

The $3.49 Salvation Army lamp base and $1 thrift store lamp shade had a complete makeover. The base got a couple coats of white spray paint and then a couple coats of black tinted Ralph Lauren Faux Technique glaze. The shade was stripped of it's white frilly (and quite stained) fabric and then clothed in a textured black fabric and a strip of black and white ribbon on the bottom.

Sunday, June 12, 2011

Mirror, Mirror, on the Floor...

Another project finished and another technique attempted. I found this large mirror at a yard sale for a whopping $2.50. I used the same paint and glaze from The Green Cabinet project, matte white vinyl and glass etching cream. This is the first time I have used glass etching cream. I started by testing it out on a random piece of glass I had in the craft room. It looked great. I've found a great new technique! Now, I don't love it as much as glazing, but I love it! It's not hung yet because it seems that I've used all the heavy duty hangers for other things. Oh, and I like how this project turned out as well.

Before some elbow grease and a razor blade to get the sticker stuff off:


And after paint, glaze, vinyl & glass etching cream:


Close up of the vinyl/glass detail:


Friday, June 10, 2011

The Green Cabinet

Well, it took a little longer than I expected....but it's done, for now. I was the grateful recipient of this cabinet on wheels a few years ago from my parent's neighbor, Ellen. It was used as a TV stand in our bedroom in our last house and since we've moved to Kansas it has been floating around the house without a true purpose. Our poor, drab guest bedroom is just crying for a mini makeover so the floating cabinet on wheels will now have a permanent home. It will now house our printer, modem & router in the guest bedroom...which reminds me, I didn't cut a hole in the back of it. Easy enough fix though, nothing the Dremel can't handle. At some point I want to add a shelf inside of it, that will happen when I have a bit of scrap wood laying around from some other project.
Here she is before her makeover. The ivy is just begging to be released into wild.

Top View


Taken all apart and given a light sanding.
Once I got the piece prepped, I primed with a spray primer(actually, two different types...I much prefer the Kilz Spray Primer) and then painted with one of the Valspar paint samples from Lowe's for $2.94. Once the paint was completely dry, I applied the vinyl that I cut with my Klic-N-Kut machine.
Top View

Side Angle View


 At this point, I was ready to sing for joy at the top of my lungs! This is the first time I have attempted redoing furniture let alone applying vinyl to multiple pieces like a puzzle. I was stoked! After trolling a bunch of blogs, I came across the All Things Thrifty blog and fell in love with glazing techniques. I found the Ralph Lauren Faux Technique glaze at the ma & pa paint store and had them tint it black. This was the most expensive thing I bought for this project at just under $10 but it is going to last me a looooooong time. I doesn't even look like I used any out of the can. After two coats of the glaze, I topped it off with Krylon Triple Thick Crystal Clear Glaze. I am very happy with the way this turned out, very happy!

Front View, sorry it's a weird angle...the bed was in my way.

Side View Angle

The top is B.EAU.TI.FUL!

Closeup of the vinyl...I really like how the black tinted glaze makes the white vinyl pop!
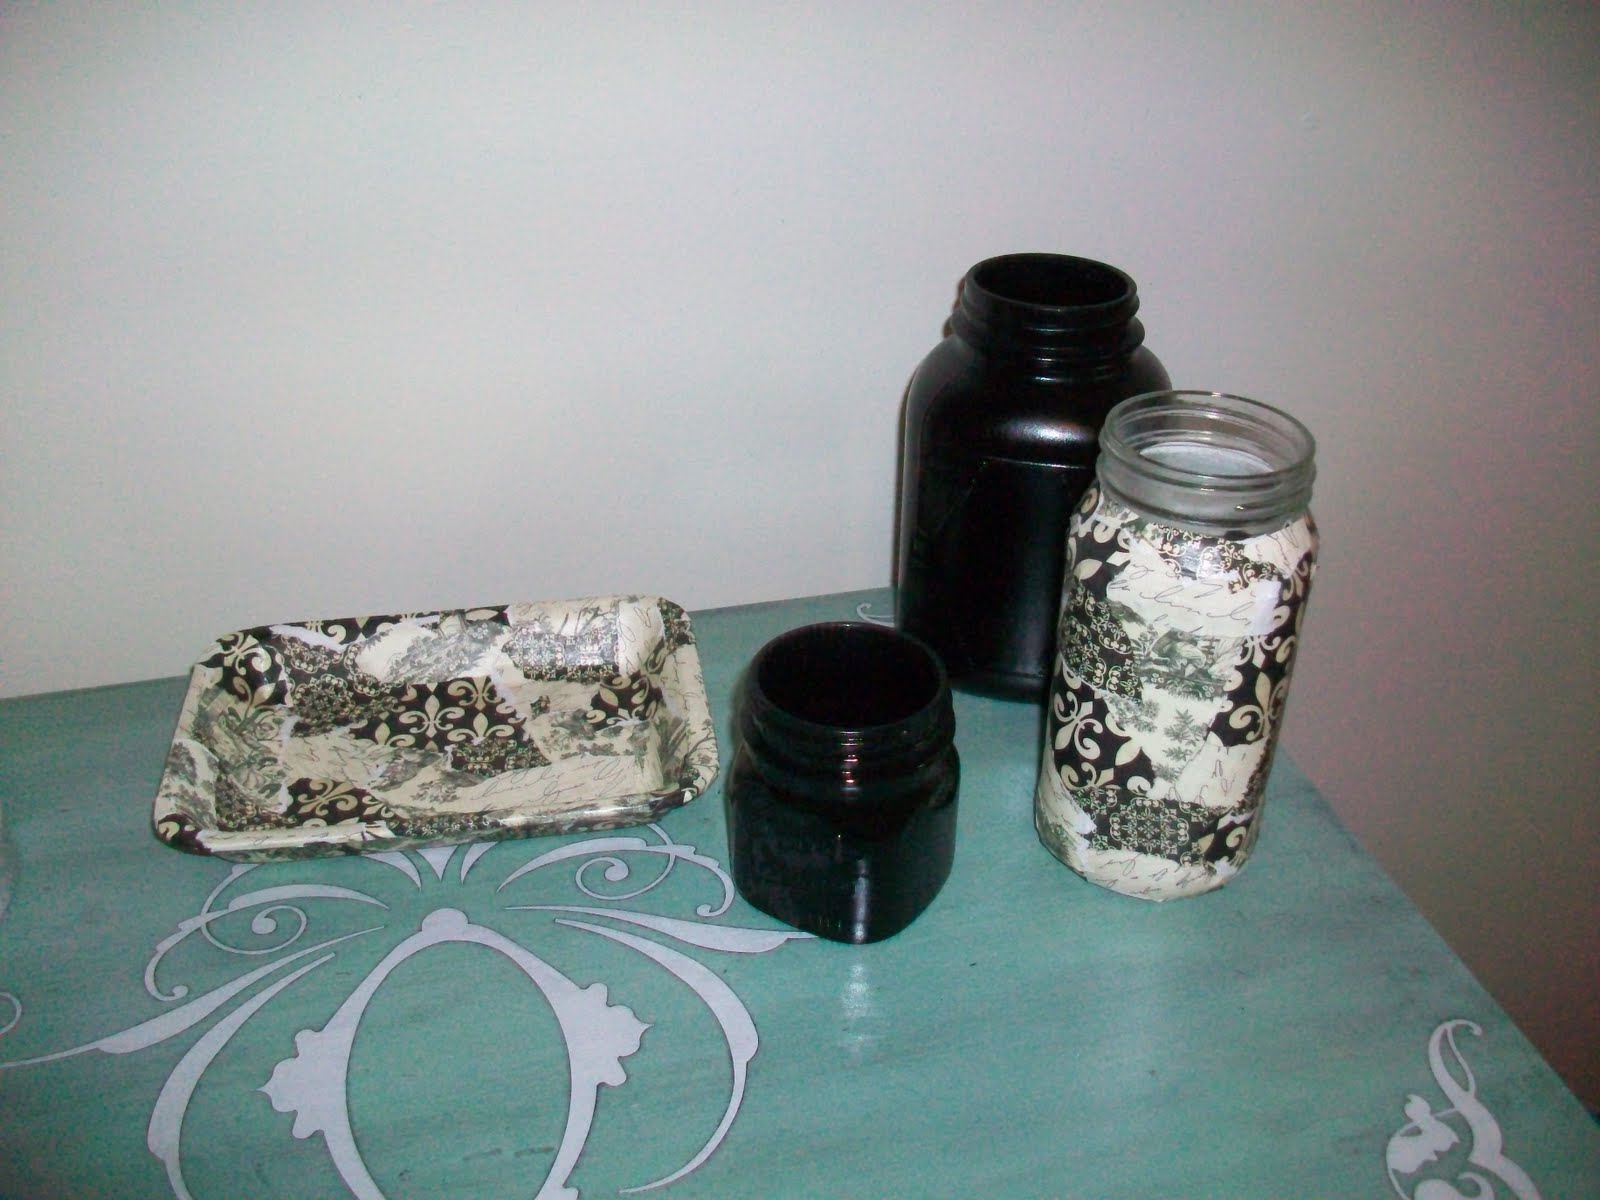
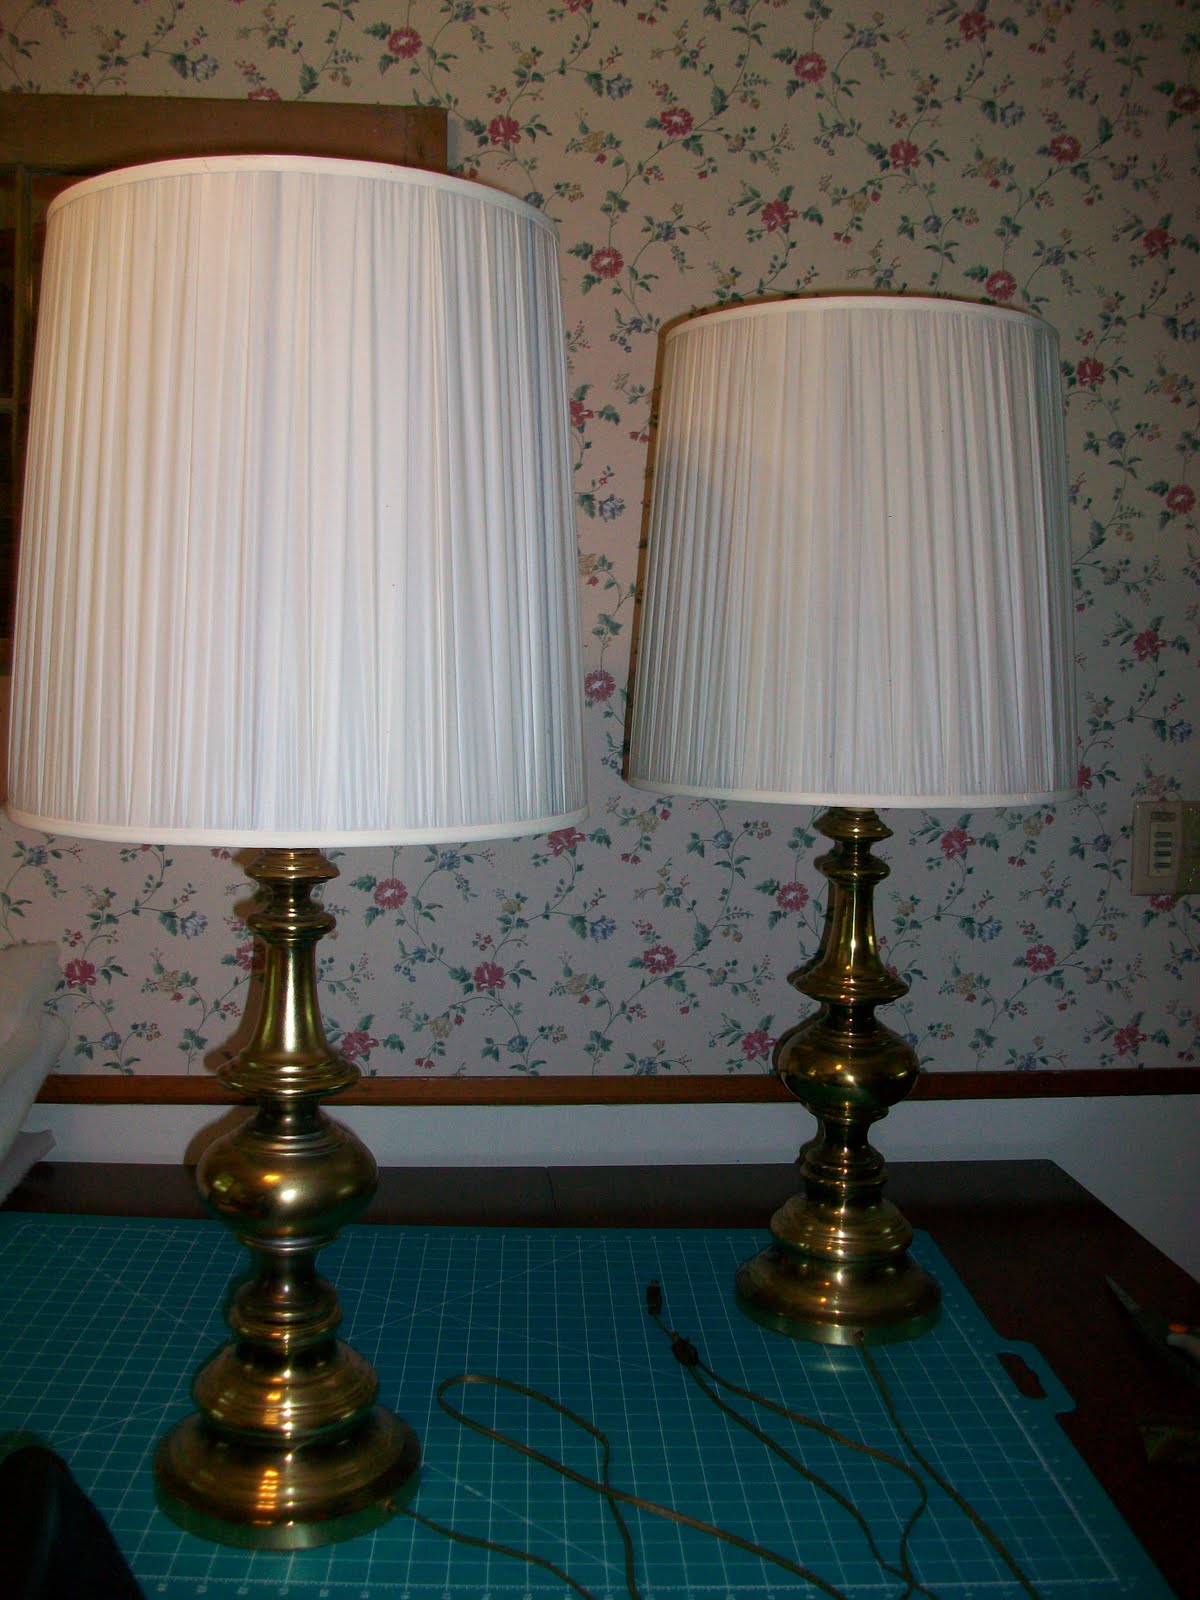
So, there's my new favorite piece of furniture in the house and I don't think these pictures truly show her beauty....time to go shopping for fabric to recover the lamp and for glass etching cream.....

Saturday, June 4, 2011

Projects, Projects Everywhere...

I now have three separate painting projects going. My medium cabinet, a large mirror and a lamp...all for the guest bedroom and all are going to match the quilt that my Mimi (grandmother) made for me. I have one more shopping trip to take in order to finish these projects. And my vinyl order should be here Monday! Love it! Here are the before pics.

The mirror I picked up at a yard sale for $2.50. It has double sided puffy tape on it and the exposed wire for a hanger.


The cabinet was a freebie from my parent's old neighbors, Ellen & Sam.


The lamp was $3.50 from the Salvation Army store and the beautiful shade (so beautiful, I might just keep it the way it is...or not) was $1 from a local second hand store.


Hopefully by next weekend I'll have all three finished...hopefully.

Tuesday, May 24, 2011

Face Lift for Lamps

Project 2 is finished...well almost. I have to get more brown ribbon to line the inside top edge of the shades. Since we are having some severe weather here, I'm going to wait to go out to Hobby Lobby until later this week. The bases got a fresh coat of brown hammered metal spray paint from Rust-Oleum. The shades were covered with a bluish/aquaish/turquoisish home decor fabric. All for under $20! Oh, and excuse the wallpaper...it wants to be retired but the owners of our rental home just can't let it go!


Before...think Grandma's lamps:


The results after their face lift:


Monday, May 23, 2011

New Cushions for the Glider

Project 1 is finished! It was a little more work than I originally thought but I think it looks great! I followed and adapted instructions from http://sewmamasew.com/blog2/2008/07/summer-sewing-perfectly-portable-cushion/ I pinned almost everything since my cushions weren't square so it was time consuming but totally worth it! I might put in more batting eventually to "fluff" it up a bit but that will come after everything else on my list is done.


Here are the before pictures:


Some of the supplies:


The end result:


On to the next project....living room lamps.